4 Steps to Take for Emergency Roof Leak Repair
Have you ever woken up to the sound of dripping water, only to realize you have a leak in your roof? It’s a troubling situation that many homeowners face.
This article will guide you step by step through the process of emergency roof leak repair. Knowing how to quickly respond can save you from stress and costly repairs. We want to make handling this common but frustrating issue as easy as possible.
By the end, you’ll feel prepared and capable of tackling those unexpected leaks.
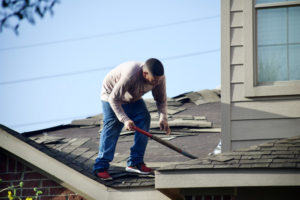
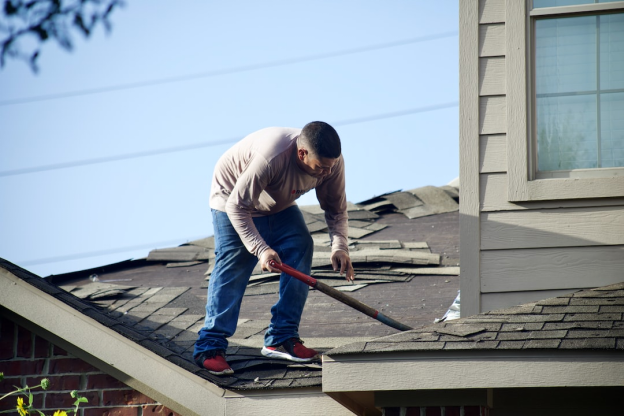
1. Assess the Situation
First, find the source of the leak. Look for any visible signs of water damage on your ceiling, including dark spots or areas where the paint is bubbling. This can often help you track down where the water is coming in from.
Next, inspect the exterior of your roof, if it’s safe to do so. You might find missing shingles, damaged flashing, or other issues that could be the cause of the leak. If you’re not comfortable doing this, consider calling a professional to help.
2. Contain the Leak
Once you’ve identified where the leak is coming from, it’s important to manage the water inside your home. Place a bucket or any large container under the area where water is dripping. This will catch the water and prevent it from spreading on your floors, which can help avoid further damage to your home.
Next, take a towel or mop and clean up any water that has already spilled on the floor. It’s crucial to keep the area as dry as possible to minimize the risk of slipping and falling. Being proactive in containing the leak can make a significant difference in reducing the impact of the leak on your home.
3. Make Temporary Fixes
After containing the leak, it’s time to focus on a temporary fix to prevent further water from entering your home. Begin by covering the leak area from the outside with a waterproof tarp. Make sure the tarp is securely fastened over the damaged area to provide effective protection against rain.
If you discover holes or cracks on your roof, you can use roofing cement as a temporary solution. Apply a generous amount of cement to seal the damaged spots thoroughly. This will help to keep your home dry until professional repairs can be made.
4. Contact a Professional Roofer
Once you have made a temporary repair, it’s important to reach out to a professional roofer. They have the expertise and tools needed to fix your roof properly. If you’re unsure about making temporary repairs yourself or if the damage is extensive, consider contacting a Marietta roofer for expert assistance.
Professional assistance can also provide advice on how to prevent future leaks. They might suggest regular maintenance or specific improvements for your roof. Remember, getting help from a professional can save you time and money in the long run by preventing further damage.
Patch It Fast With Emergency Roof Leak Repair
Dealing with an emergency roof leak repair doesn’t have to be overwhelming. By following these steps, you can protect your home and reduce stress. Remember, quick action is key.
This approach not only secures your home but also gives you peace of mind. Lastly, don’t forget that being prepared for such emergencies can make a big difference. Stay safe and take action swiftly.
Did you find the information in this article helpful? If so, be sure to check out our blog for more valuable resources.